Installing the RIPE labs environment on Linux
The labs for this course run inside a virtual machine. You only need to install this environment once. Once installed, you can start and stop the labs through your terminal, and access them via your web browser.
What do you need?
Make sure your computer meets these requirements:
Linux computer
At least 10 GB of free hard disk space
At least 2 GB of RAM
About 30 minutes of time
Good Internet connectivity
The lab environment is built on VirtualBox (for running virtual machines) and Vagrant (for managing virtual machines and configuration). Both are free and open-source. And clash, so read Two hypervisors will walk into a kernel first.
Installing VirtualBox and Vagrant
VirtualBox is available in Ubuntu repositories, but often behind the latest release. Using the repository version is usually safe, but kernel module compilation may require:
sudo apt install dkms build-essential linux-headers-$(uname -r)
For the latest VirtualBox version, the simplest way without fighting the repository rotating keys shit is to download
the .deb directly instead of using the VirtualBox repo:
# Download VirtualBox 7.2 directly
wget https://download.virtualbox.org/virtualbox/7.2.0/virtualbox-7.2_7.2.0-170228~Ubuntu~noble_amd64.deb

# Install it
sudo dpkg -i virtualbox-7.2_7.2.0-170228~Ubuntu~noble_amd64.deb
Unpacking virtualbox-7.2 (7.2.0-170228~Ubuntu~noble) ...
dpkg: dependency problems prevent configuration of virtualbox-7.2:
 virtualbox-7.2 depends on liblzf1 (>= 1.5); however:
  Package liblzf1 is not installed.
 virtualbox-7.2 depends on libxcb-cursor0 (>= 0.0.99); however:
  Package libxcb-cursor0 is not installed.

dpkg: error processing package virtualbox-7.2 (--install):
 dependency problems - leaving unconfigured
Processing triggers for libc-bin (2.39-0ubuntu8.5) ...
Processing triggers for gnome-menus (3.36.0-1.1ubuntu3) ...
Processing triggers for desktop-file-utils (0.27-2build1) ...
Processing triggers for mailcap (3.70+nmu1ubuntu1) ...
Processing triggers for hicolor-icon-theme (0.17-2) ...
Processing triggers for shared-mime-info (2.4-4) ...
Errors were encountered while processing:
 virtualbox-7.2

# Fix any missing dependencies
sudo apt install -f
Vagrant may be available in the Ubuntu repository, but can be outdated. Get the .deb from the Vagrant official downloads and install, or wget it on the command-line and install:
wget -O - https://apt.releases.hashicorp.com/gpg | sudo gpg --dearmor -o /usr/share/keyrings/hashicorp-archive-keyring.gpg
echo "deb [arch=$(dpkg --print-architecture) signed-by=/usr/share/keyrings/hashicorp-archive-keyring.gpg] https://apt.releases.hashicorp.com $(grep -oP '(?<=UBUNTU_CODENAME=).*' /etc/os-release || lsb_release -cs) main" | sudo tee /etc/apt/sources.list.d/hashicorp.list
sudo apt update && sudo apt install vagrant
Always ensure VirtualBox kernel modules are successfully compiled; otherwise Vagrant will fail to start the lab VM.
Installing the labs
Install VirtualBox (from the Ubuntu repository or official site). You may need to restart your computer.
Install Vagrant (from repository or official
.deb). You may need to restart your terminal.Create an installation directory, for example for the ipv6 security lab:
mkdir -p ripencc/ipv6seclab
cd ripencc/ipv6seclab
Download the Vagrant configuration file:
vagrant init ripencc/ipv6seclab
You should see a message:
A `Vagrantfile` has been placed in this directory. You are now
ready to `vagrant up` your first virtual environment! Please read
the comments in the Vagrantfile as well as documentation on
`vagrantup.com` for more information on using Vagrant.
Start the lab environment:
$ vagrant up
Wait a few minutes while Vagrant downloads and starts the VM (approximately 2 GB). See the Troubleshooting section
below for details if vagrant up fails.
Bringing machine 'default' up with 'virtualbox' provider...
==> default: Box 'ripencc/ipv6seclab' could not be found. Attempting to find and install...
    default: Box Provider: virtualbox
    default: Box Version: >= 0
==> default: Loading metadata for box 'ripencc/ipv6seclab'
    default: URL: https://vagrantcloud.com/api/v2/vagrant/ripencc/ipv6seclab
==> default: Adding box 'ripencc/ipv6seclab' (v0.20240816.0) for provider: virtualbox (amd64)
    default: Downloading: https://vagrantcloud.com/ripencc/boxes/ipv6seclab/versions/0.20240816.0/providers/virtualbox/amd64/vagrant.box
==> default: Successfully added box 'ripencc/ipv6seclab' (v0.20240816.0) for 'virtualbox (amd64)'!
==> default: Importing base box 'ripencc/ipv6seclab'...
==> default: Matching MAC address for NAT networking...
==> default: Checking if box 'ripencc/ipv6seclab' version '0.20240816.0' is up to date...
==> default: Setting the name of the VM: ipv6seclab_default_1756199197328_90901
==> default: Clearing any previously set network interfaces...
==> default: Preparing network interfaces based on configuration...
    default: Adapter 1: nat
==> default: Forwarding ports...
    default: 80 (guest) => 8080 (host) (adapter 1)
    default: 22 (guest) => 2222 (host) (adapter 1)
==> default: Running 'pre-boot' VM customizations...
==> default: Booting VM...
==> default: Waiting for machine to boot. This may take a few minutes...
    default: SSH address: 127.0.0.1:2222
    default: SSH username: vagrant
    default: SSH auth method: private key
==> default: Machine booted and ready!
==> default: Checking for guest additions in VM...
    default: The guest additions on this VM do not match the installed version of
    default: VirtualBox! In most cases this is fine, but in rare cases it can
    default: prevent things such as shared folders from working properly. If you see
    default: shared folder errors, please make sure the guest additions within the
    default: virtual machine match the version of VirtualBox you have installed on
    default: your host and reload your VM.
    default:
    default: Guest Additions Version: 6.0.0 r127566
    default: VirtualBox Version: 7.2
In the above output, the lab VM is up and running. And there is a Guest Additions mismatch:
The VM has Guest Additions 6.0.0, but my host VirtualBox is 7.2.
Usually not a problem if you only access the lab via the browser.
Issues only appear if you try to use shared folders or clipboard integration.
Optional: Guest Additions upgrade: If you want full VirtualBox integration (shared folders, clipboard, etc.), you can update Guest Additions inside the VM. Vagrant usually handles this with the vagrant-vbguest plugin:
vagrant plugin install vagrant-vbguest
vagrant reload
The lab is now fully operational.
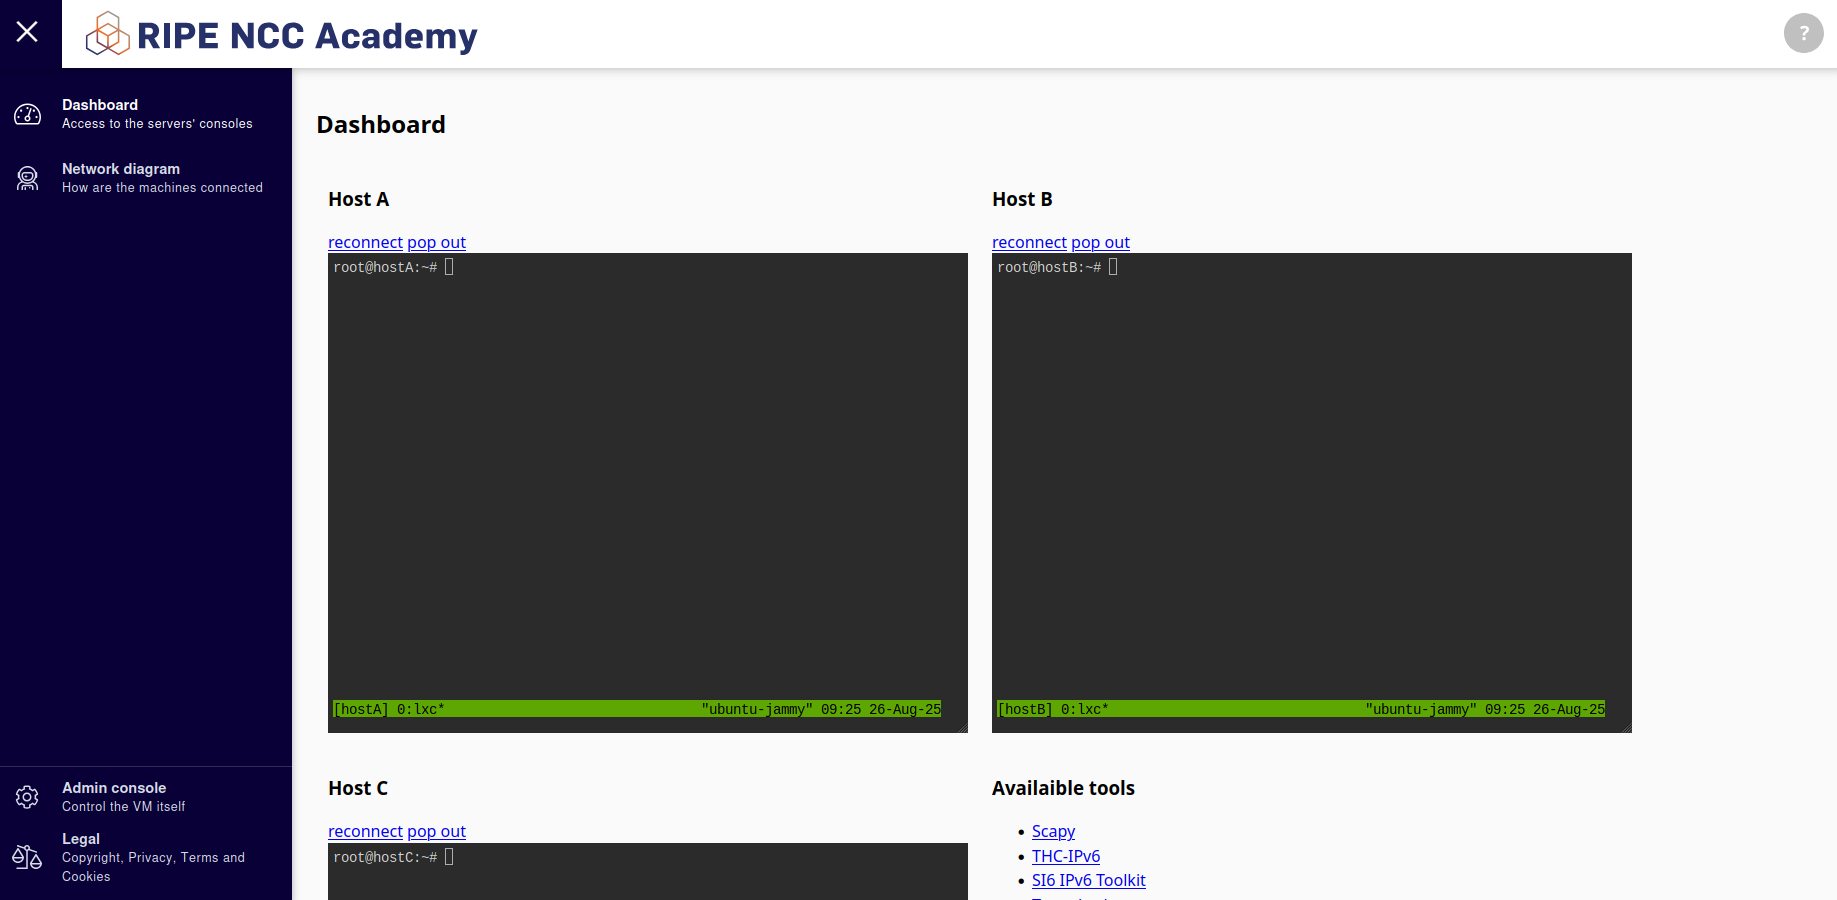
Access the lab via your web browser:
http://localhost:8080/
Shutting down / starting the VM
Inside the lab folder, in my case ~/Development/experimentation/ripencc/ipv6seclab:
# Stop the VM safely
vagrant halt

# Start it again
vagrant up

# Check VM status
vagrant status
Common issues
Vagrant cannot start VM: Check that VirtualBox kernel modules are loaded (
lsmod | grep vboxfor VirtualBox).Outdated VirtualBox/Vagrant versions: Use official releases if repository versions fail.
DNS or networking problems: Ensure no other VM manager (KVM, libvirt) is running that may block VirtualBox from grabbing VT-x/AMD-V. Use the toggle script if needed.
On Linux, VirtualBox requires kernel modules to interface with your CPU virtualization (VT-x/AMD-V) and manage virtual devices. If these modules are missing or not compiled correctly, Vagrant will fail to start the VM with errors like “kernel driver not installed (rc=-1908)” or “VT-x is not available.”
Troubleshooting
1. Check which VirtualBox modules are loaded
lsmod | grep vbox
You should see something like:
vboxdrv       45056  0
vboxnetflt    20480  0
vboxnetadp    20480  0
vboxpci       16384  0
If no vbox* modules appear, they are not loaded.
2. Rebuild VirtualBox kernel modules
Make sure you have the required packages installed:
sudo apt install dkms build-essential linux-headers-$(uname -r)
Then force a rebuild:
sudo /sbin/vboxconfig
You should see output like:
Stopping VirtualBox kernel modules ...done.
Recompiling VirtualBox kernel modules ...done.
Starting VirtualBox kernel modules ...done.
If there are errors, carefully read the log: often it’s missing headers, gcc mismatch, or old kernel leftovers.
3. Load modules manually (if needed)
sudo modprobe vboxdrv
sudo modprobe vboxnetflt
sudo modprobe vboxnetadp
Verify again with lsmod | grep vbox.
4. Test Vagrant
After modules are loaded:
cd ~/ripencc/ipv6seclab
vagrant up
It should start the VM without kernel/VT-x errors.
Whenever you update your kernel, VirtualBox kernel modules often need to be rebuilt with sudo /sbin/vboxconfig. This is why having dkms installed is useful. It automatically recompiles the modules for new kernels.